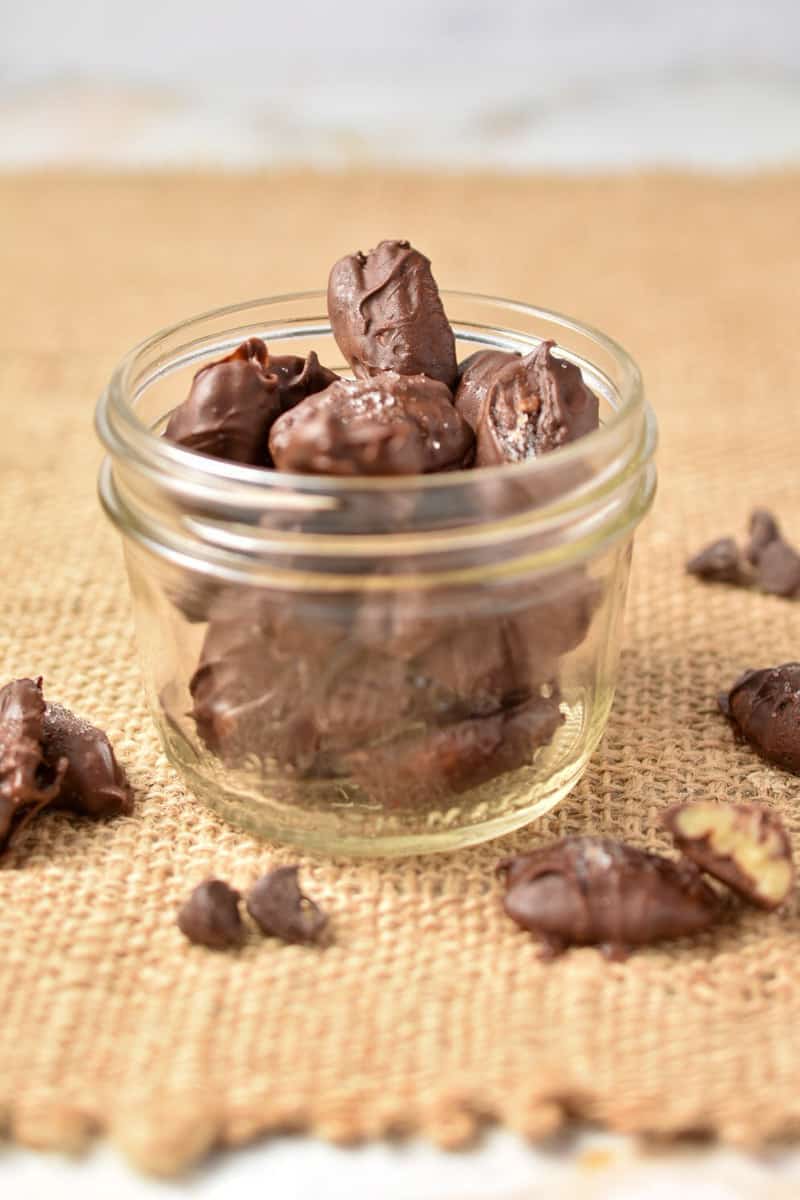
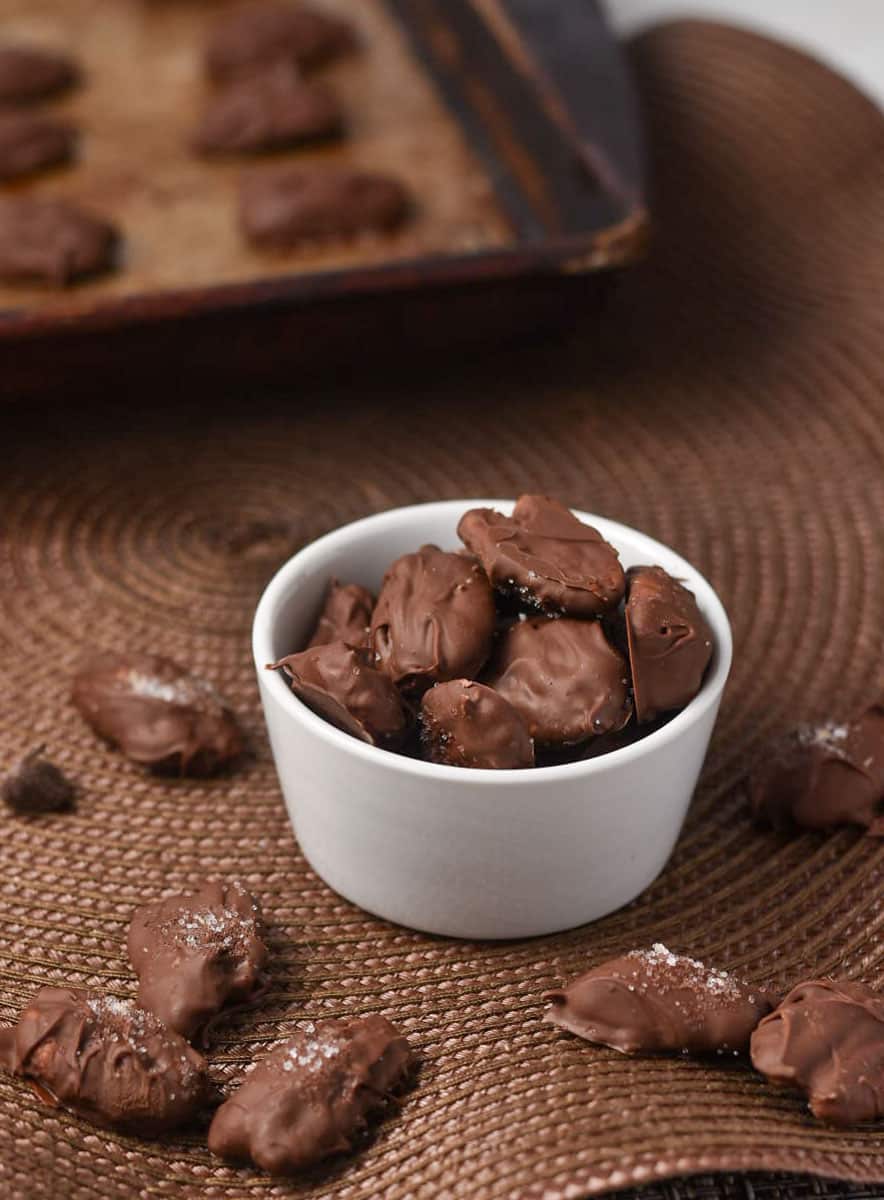
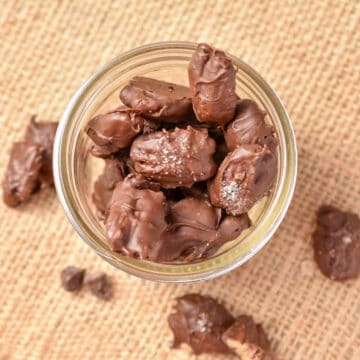
This recipe for chocolate covered pecans is absolutely delicious, but also perfect for the holiday season. The toasted pecans have a caramelized flavor (thanks to the butter and brown sugar!) and then are coated in warm, melted chocolate to create a sweet chocolate shell. With a handful of ingredients and a few simple steps, you'll have homemade chocolate pecans ready to enjoy and share with friends and family in just 30 minutes!
The holiday season is fast approaching, and what better way to show your friends and family how much you care than with a batch of homemade chocolate covered pecans?
Whether you're making them as a sweet treat for yourself or gifting them to someone special, this delicious recipe is sure to be a hit. Plus, it's quick and easy to make, so you can fit it in even the busiest of holiday schedules.
With just a few simple ingredients and 30 minutes of your time, you can whip up a batch of these delicious treats in no time!
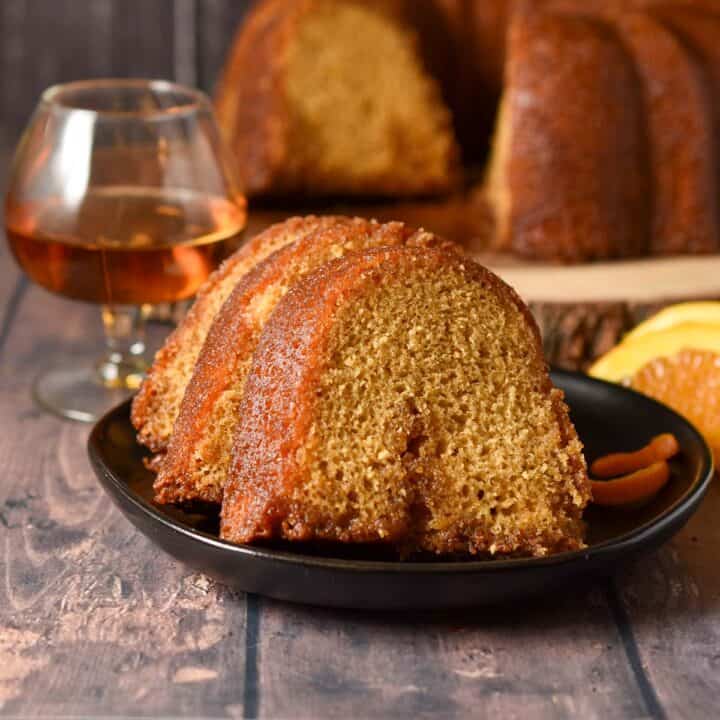
Tip: Love a good pecan dessert? Try a slice of this pecan rum cake - a bundt cake doused in a warm butter rum sauce!
Jump to:
Why you'll love this recipe
- Making chocolate pecans is super quick and easy - ready in 30 minutes! Perfect for gifting or taking to holiday parties.
- You don't need any special equipment besides a few kitchen staples.
- This recipe is gluten-free and can easily be made dairy-free by using vegan butter and dairy-free chocolate chips).
- Chocolate covered pecans store well in the fridge or at room temperature, making them perfect to have on hand when you want a sweet snack.
- You can customize the recipe however you like - try adding different flavorings, nuts, and dried fruits to make a unique treat!
Key ingredients and why we use them
This recipe for chocolate covered pecans is perfect for the holiday season. All you'll need are a few simple ingredients!
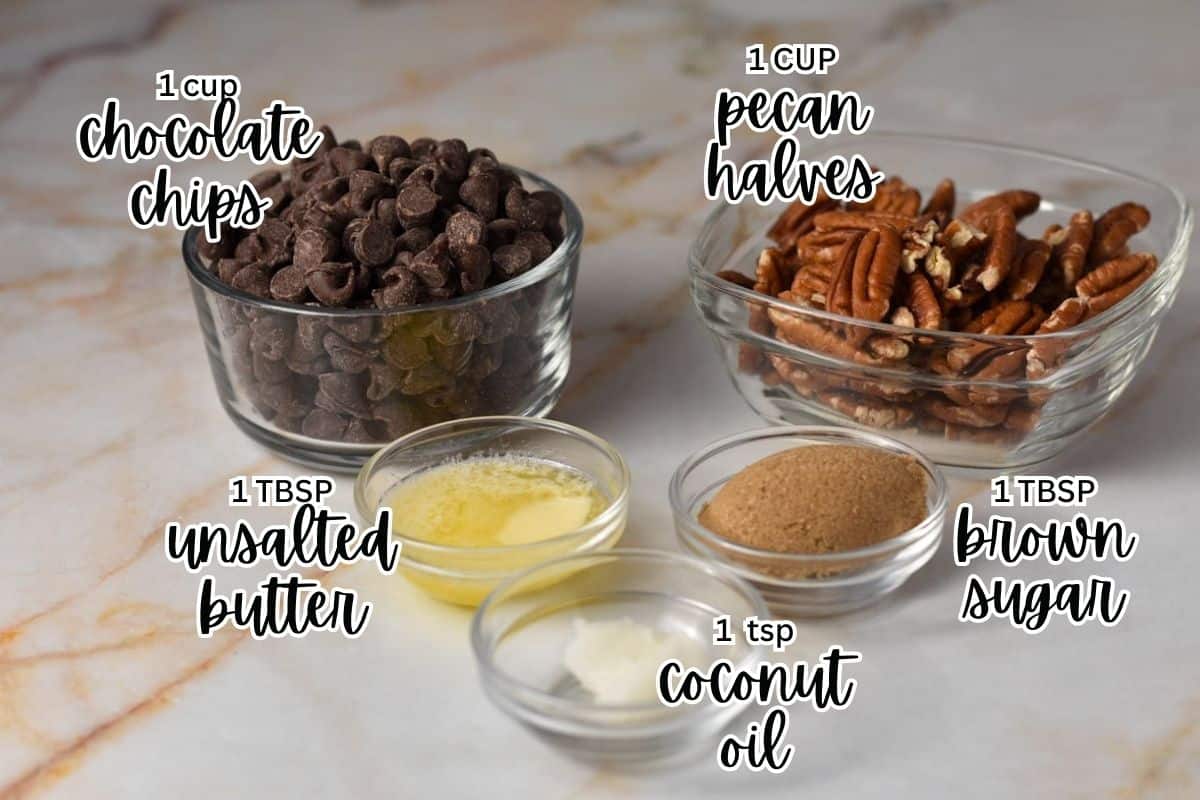
Pecans: Pecans have this rich, buttery taste that is complemented nicely by the sweetness of chocolate. Toasting them brings out the nutty flavor even more.
Butter: Unsalted butter helps bind the pecans and brown sugar together, making them easier to coat. It gives the toasted pecans this caramelized nutty flavor.
Brown Sugar: Brown sugar adds a hint of molasses-like flavor to the pecans. It helps to sweeten and give the chocolate coating an extra crunch.
Chocolate Chips: Semi-sweet or dark chocolate chips work well in this recipe, but feel free to swap them out for your favorite type of chocolate. The creamy sweetness of melted chocolate is what makes this treat so delicious
Coconut Oil: A bit of coconut oil helps the melted chocolate coat the pecans more evenly. It also gives the chocolate a nice shine and glossy finish once it's cooled down.
Sea Salt: To finish off this sweet treat, add a dash of sea salt for a burst of flavor! The contrast between the sweet and salty creates a perfect combination of flavors you won't forget.
Equipment
You'll need the following pieces of equipment to make this chocolate covered pecans recipe.
- Baking Sheet: I used a 9x13-inch half-sheet pan to make these chocolate pecans.
- Aluminum Foil: Line the baking sheet with aluminum foil for easier cleanup.
- Silicone Baking Mat: Use a silicone baking mat to place the pecans once they have been coated with the melted chocolate and give them time to harden.
You'll also need a microwaveable safe bowl to melt the chocolate chips and coconut oil.
Heather's helpful hints
If you are all out of aluminum foil, you can use parchment paper instead.
To get that perfect glossy finish, make sure to work quickly when coating the pecans with melted chocolate so it doesn't harden before you're done. And, if your kitchen is too cold and the chocolate starts to cool while you're still dipping, pop the bowl of melted chocolate in the microwave for a few seconds to keep it from hardening.
Don't have any coconut oil on hand? That's okay! You can replace the coconut oil in this recipe with shortening. Its purpose is to thin the chocolate, making it easier to work with.
If you have too many pecans left over, consider making a few of these mini phyllo pecan tarts to serve at your holiday party as well. Or, you can make one big pecan tart! Either way, you'll have a delicious dessert on your hands that everyone can enjoy.
Step-by-step instructions
Whipping up a batch of chocolate-covered pecans is super simple. Here's how to do it in a few easy steps!
Step 1) Preheat your oven to 350° F. To make cleanup a breeze, line your baking pan with aluminum foil.
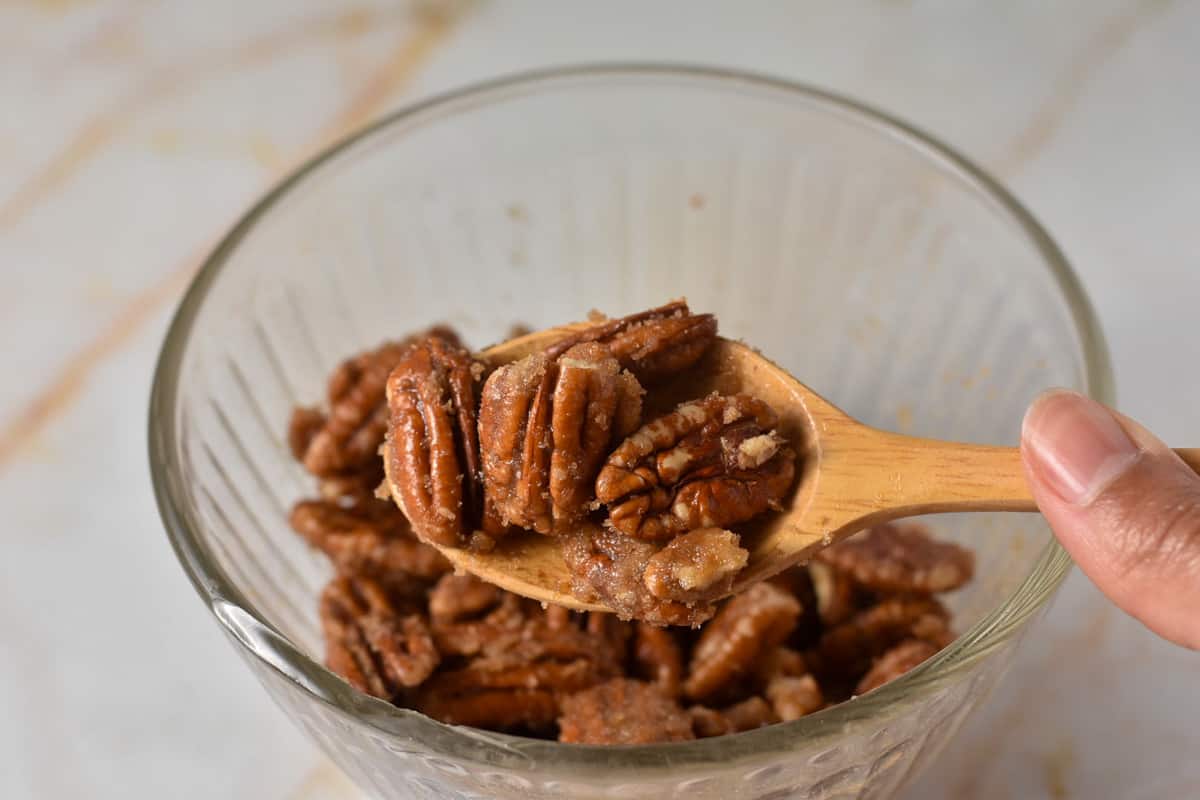
Step 2) Toss the pecan halves in melted butter and brown sugar, making sure every pecan is coated evenly. Scrape the bowl to ensure you use all the mixture.
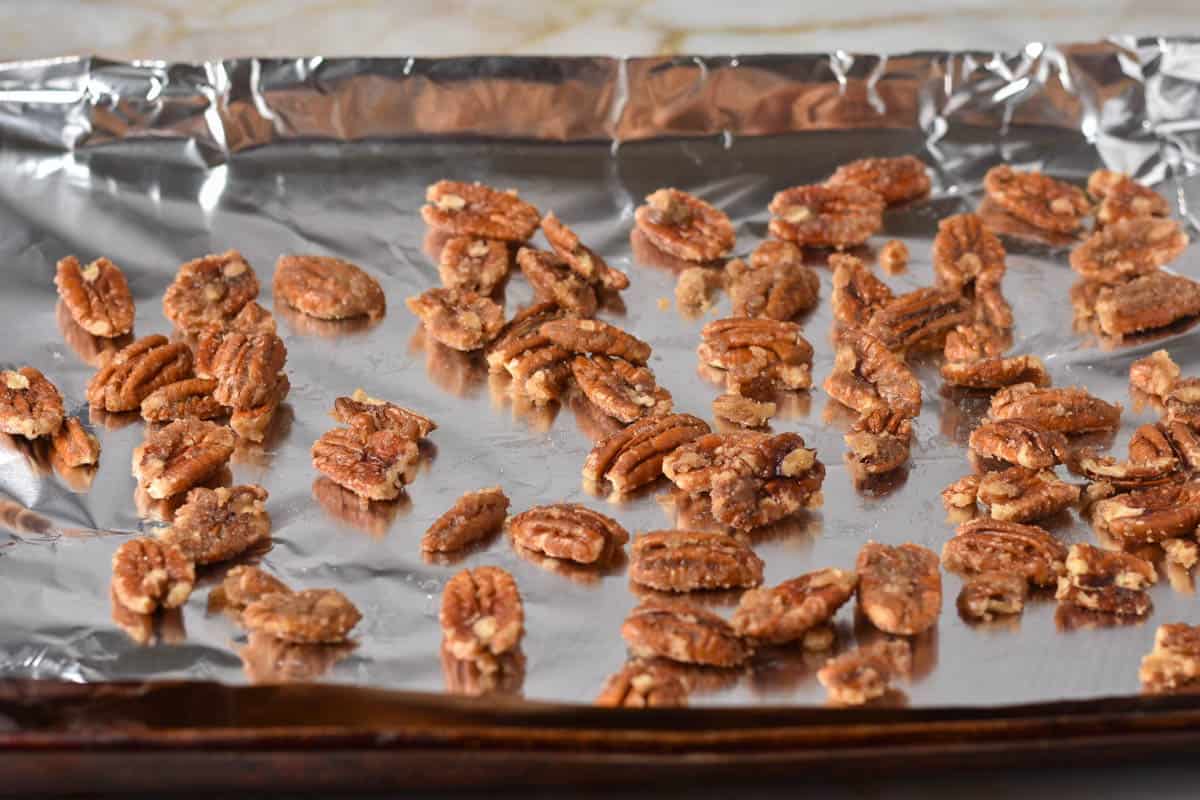
Step 3) Place the baking sheet in the oven for about 7 to 10 minutes. Once they're nice and toasty, take the pecans out of the oven and let them cool for 15 minutes.
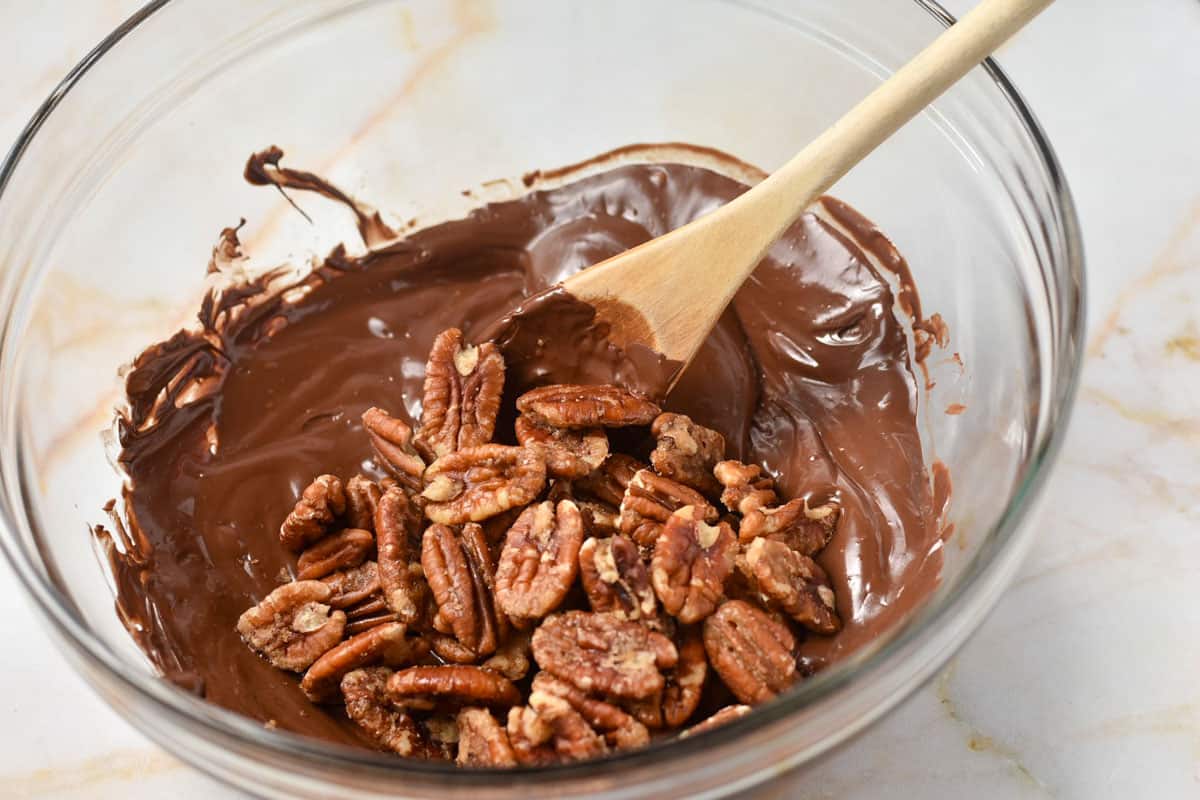
Step 4) Grab a microwave-safe bowl and combine chocolate chips and coconut oil. Heat the mixture in the microwave in 30-second intervals, stirring after each time until the chocolate is completely melted. Add the pecans and toss in the chocolate.
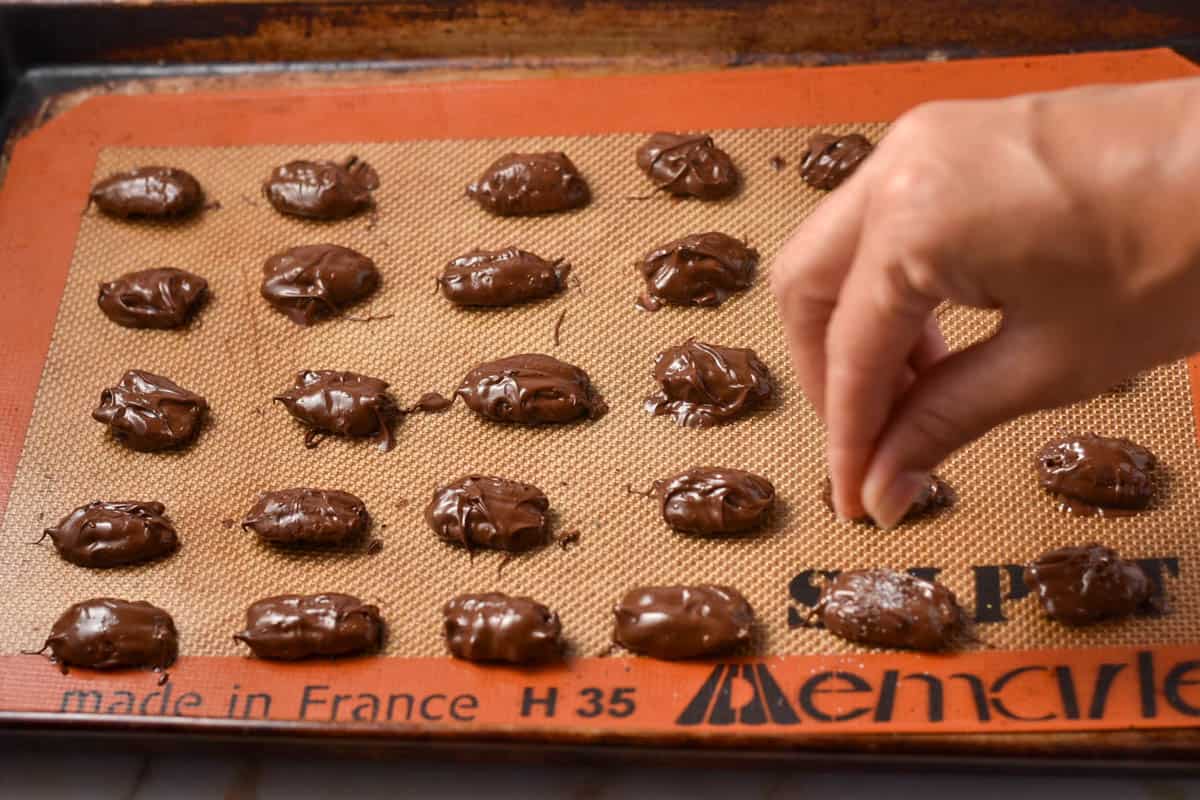
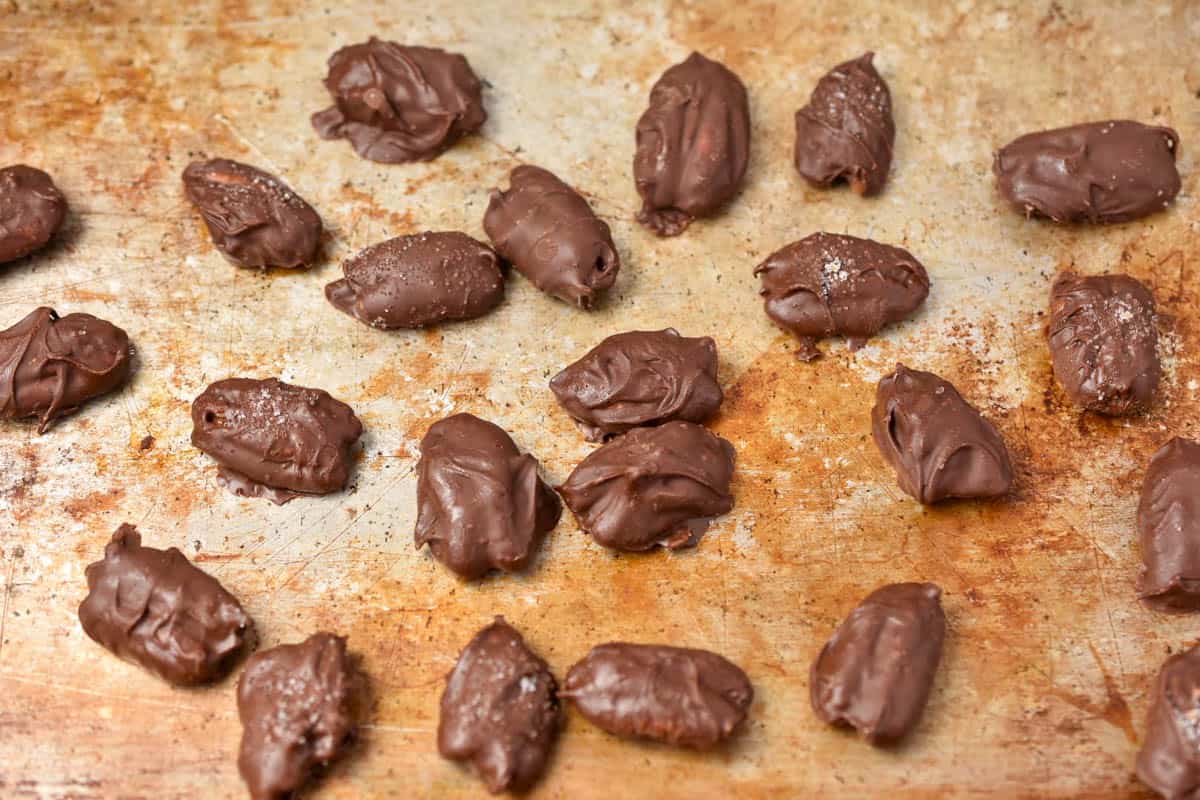
Step 5) To let the chocolate harden, use a fork to transfer the chocolate-covered pecans onto a silicone baking mat. And if you're feeling fancy, sprinkle a touch of coarse sea salt while the chocolate is still wet.
Now, all that's left to do is let them set and enjoy!
Recipe variations
Feel free to get creative with this recipe and make it your own. Here are some variations you can try:
- Sprinkle crushed candy canes on top for a festive touch.
- Substitute the semi-sweet or dark chocolate chips for white chocolate chips, and add some dried cranberries or cherries for a delicious twist.
- If you're a fan of coconut, sprinkle some shredded coconut flakes onto the chocolate covered pecans before they cool.
- Try adding some espresso powder or cinnamon to the melted chocolate for an extra depth of flavor.
Make ahead and storage tips
If you're making a big batch of chocolate covered pecans, it's best to store them in the refrigerator in an airtight container. If stored properly, they can last up to 3 months.
You can also store these chocolate pecans in a container at room temperature for up to a month.
Making these ahead of time for a holiday party? No problem! You can bake the pecans up to 3 days ahead of time and keep them in an airtight container. Then, melt the chocolate chips and coconut oil right before you're ready to assemble your treats.
Chocolate covered pecans make for a delicious homemade gift! Place them in small clear bags or mason jars and tie them with a ribbon or twine for a pretty presentation.
Frequently asked questions
Can I use a different kind of nut?
Yes, you can use almost any type of nut for this recipe, such as walnuts, almonds, or even macadamia nuts. Just make sure to adjust the baking time accordingly if you're using a different size of nut.
Can I use any type of sugar?
Yes, you can substitute white granulated sugar for the brown sugar. You may also want to add a bit more coconut oil to help thin out the melted chocolate when coating the pecans.
How do I know when the chocolate pecans are done?
Once you've coated them, the chocolate should have a glossy sheen and look evenly distributed. When they cool down, give one a gentle squeeze to make sure it's hardened nicely. If it still feels soft, leave them on the mat or pop them back in the fridge for a few more minutes and check again.
Can I melt the chocolate using the double boiler method?
Yes, you can use the double boiler method to melt your chocolate chips and coconut oil. Just make sure to stir constantly and keep an eye on it to avoid burning the mixture. Once melted, proceed with the instructions as written.
To melt the chocolate using a double boiler:
- Fill the bottom of a medium-sized pot with about 1 to 2 inches of water.
- Bring the water to a simmer over low heat, and then place a large heat-proof bowl on top.
- Place your chocolate chips and coconut oil in the bowl and stir until melted.
- Once melted, proceed with the recipe as written.
What if the chocolate is too thick?
If you're having trouble coating the pecans evenly, try adding a bit more coconut oil to thin out the melted chocolate. You can also place it in the microwave for 10 seconds at a time until you reach your desired consistency.
Can I make these ahead and freeze them?
I do not recommend freezer storage for these chocolate pecans, as the texture will change.
Recipe
Chocolate Covered Pecans
Equipment
- 19 x 13-inch half-sheet baking pan
- aluminum foil
- silicone baking mat
Ingredients
For Toasting the Pecans
- 1 cup pecan halves
- 1 tablespoon unsalted butter melted
- 1 tablespoon brown sugar
For Coating the Pecans in Chocolate
- 1 cup chocolate chips dark, semi-sweet, or milk
- 1 teaspoon coconut oil
- sea salt for garnish
Instructions
- Preheat the oven to 350° F. Line your baking pan with aluminum foil for easy cleanup.
- Toss pecans in butter and brown sugar, coating them evenly. Toast them in the oven for 7 to minutes, checking to make sure they don't burn.
- Remove pecans from the oven and allow them to cool for 15 minutes.
- In a medium microwave-safe bowl, combine chocolate chips and coconut oil. Microwave in 30 second increments, stopping after each time to stir the mixture.
- When the chocolate is completely melted, add the cooled pecans to the bowl and toss them to completely coat them in chocolate.
- Use a fork to remove chocolate-covered pecans to a silicone baking mat to harden. While wet, sprinkle with coarse sea salt, if desired.
Notes and Tips
- Coconut Oil: You can replace the coconut oil in this recipe with shortening. Its purpose is to thin the chocolate making it easier to work with.
- Storage: You can store the pecans in an airtight container at room temperature for about a month. However, I recommend storing them in the refrigerator for longer-term storage. Your pecans will last up to three months in the refrigerator. I do not recommend freezer storage once you have covered them in chocolate.


Erin
Love this idea for the holidays! You mentioned the texture changes with freezing... I'd really like to make a big batch. What happens to the texture after being in the freezer?
Heather
I'm so glad you want to give this a try, Erin! I find that the texture becomes a little grainy after freezing.