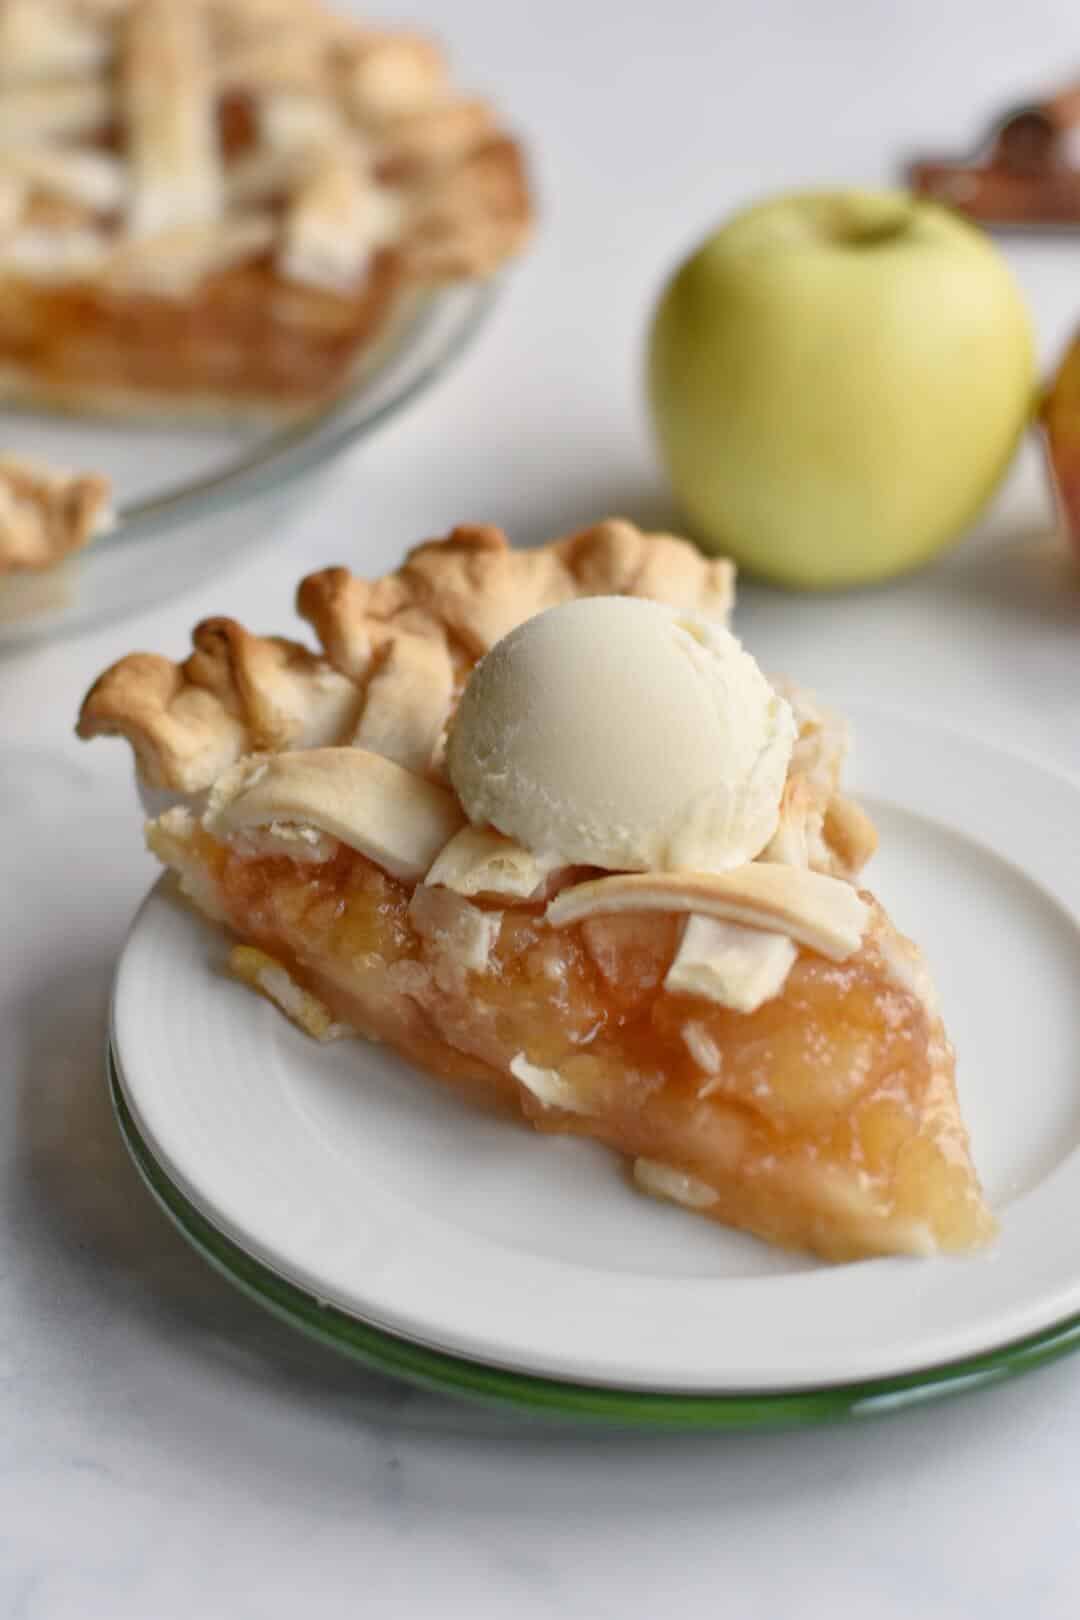
This homemade apple pie recipe reduces your time in the kitchen by using a mixture of homemade and prepared ingredients. The best part is no one will know the difference! This recipe is a favorite of mine when I'm short on time in the kitchen.
Jump to:
Key ingredients and why we use them
I like to call this apple pie semi-homemade. Mainly because it takes a few shortcuts that are (in my opinion) well worth the time saved.
Premade Pie Crust: This pie uses a store-bought crust and (partially) store-bought filling. This saves you a TON of time, and I argue that no one will be able to taste the difference.
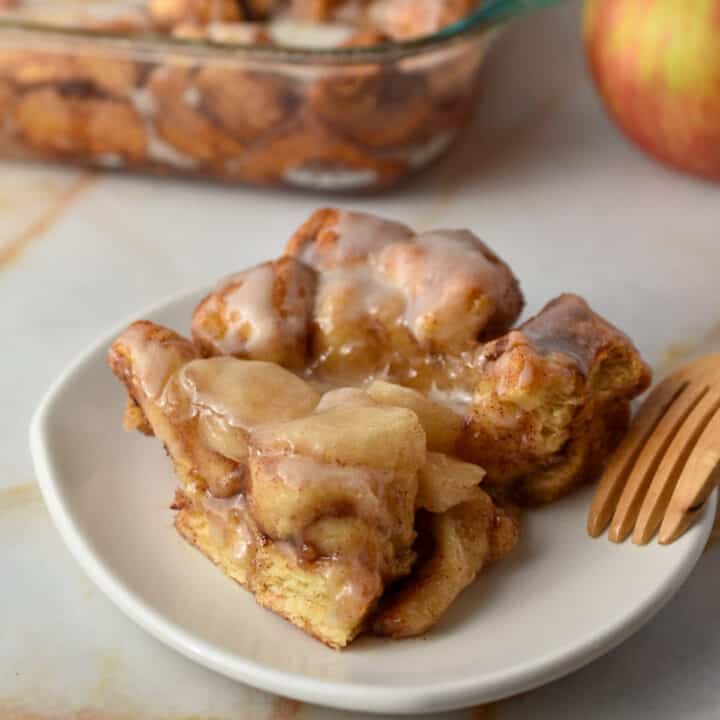
Apple Pie Filling: All you need to make this pie is some apple pie filling to supplement the store-bought filling, and you are all set. I consider a quick and simple dessert like this a definite #momwin.

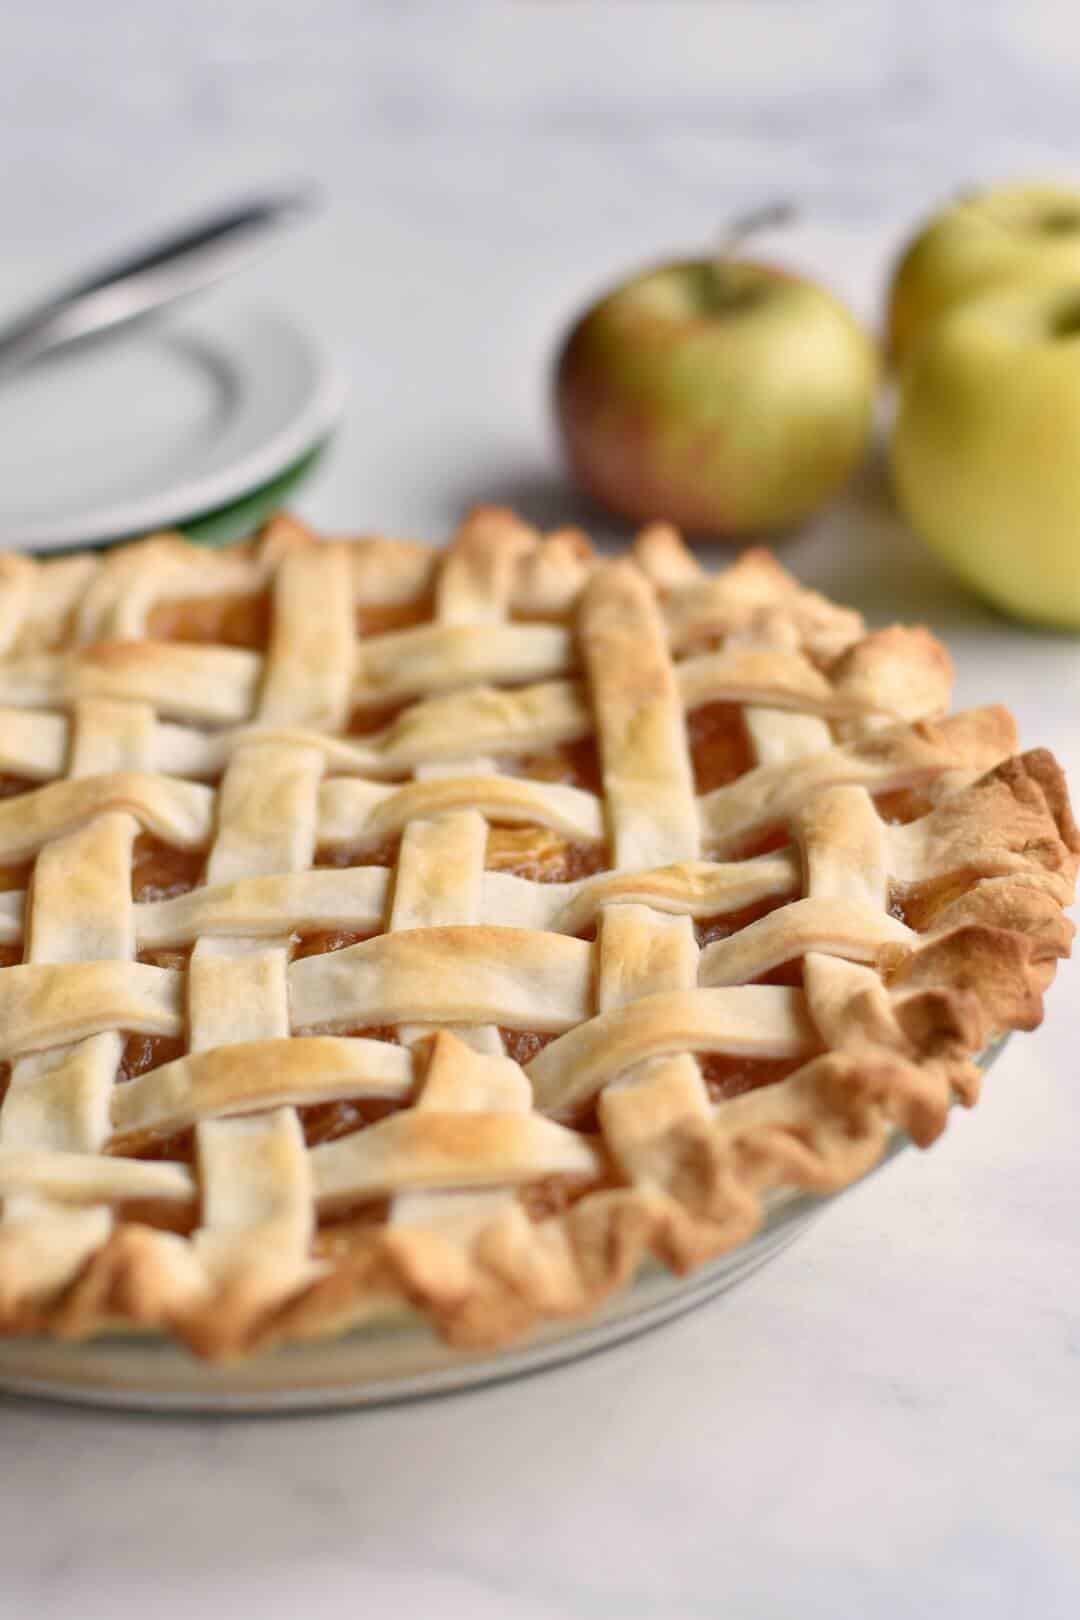
How do I make a lattice crust?
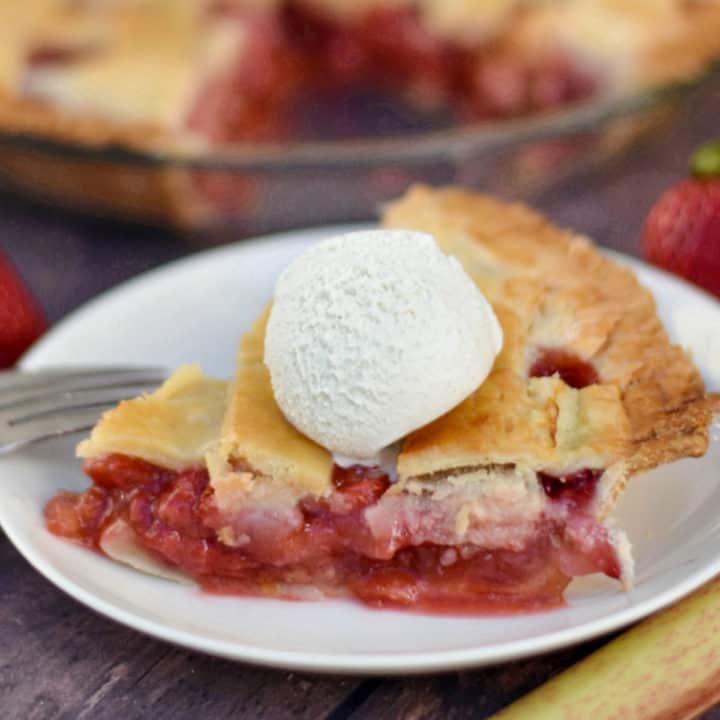
The lattice crust is oh-so-easy to do, and I think it makes your final product look like you dedicated lots of time… an no one will know you didn’t ;) For an easy step-by-step tutorial on the pie crust check out this King Arthur Flour video. At the end of the day you're left with an incredibly simple dessert, that tastes delicious, and looks like you spent lots of time on it.
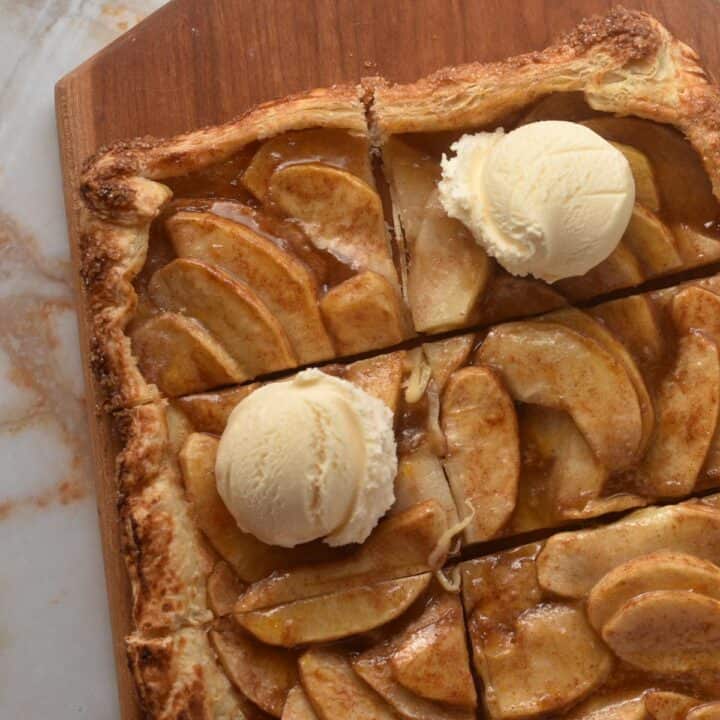
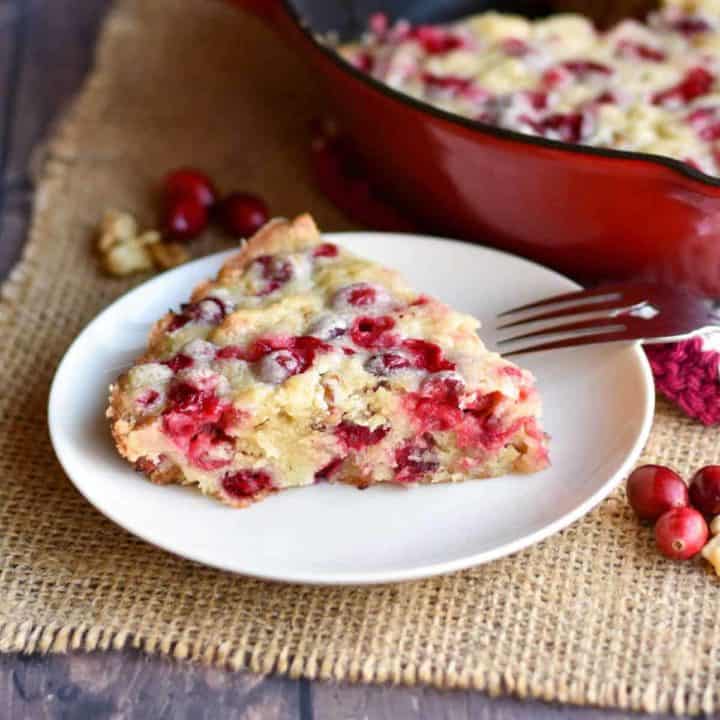
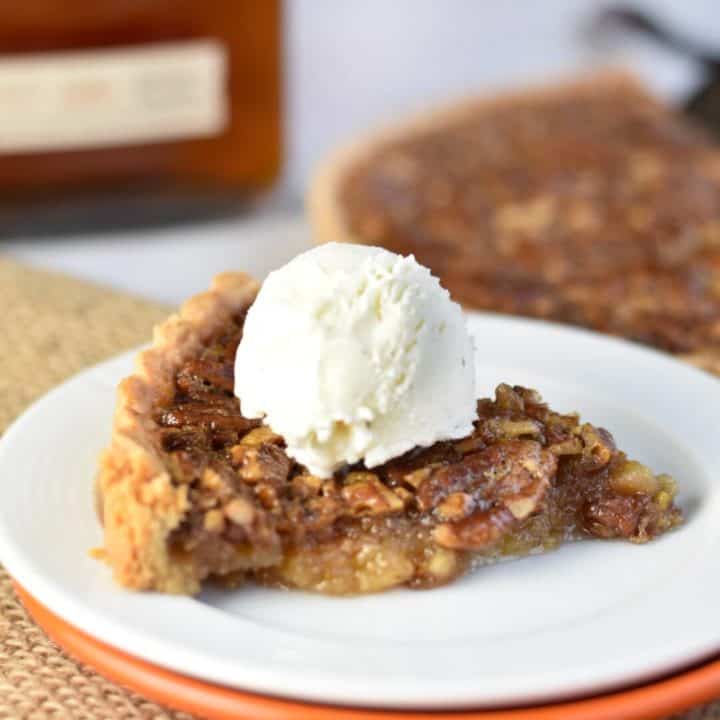
Related pie recipes
Be sure to check out some more of our delicious ie recipes on the blog!
Also check out my delicious summer favorite, award-winning Kermit's key lime pie!
Recipe

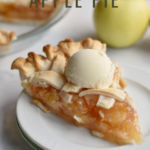
Homemade Apple Pie
Ingredients
Homemade Pie Filling
- 2 cups apples peeled and sliced
- ½ cup granulated sugar
- ½ cup water
- 1 teaspoon cinnamon
- 2 tablespoons cornstarch
Apple Pie Assembly
- 2 refrigerated rolled pie crusts
- 1 20 ounce can apple pie filling
- 1 tablespoon butter
Instructions
Homemade Pie Filling
- Place apples, sugar, water, cinnamon, and cornstarch in a medium saucepan. Stir to combine and then bring to a boil over medium heat. Boil the mixture for 2 minutes and then reduce temperature to low and simmer. Stirring the mixture often, cook until the apples are tender but not mushy. This will be for about 5-8 minutes depending on the type of apple.
- Remove the mixture from the stove and cool. You want this mixture to be cooled to room temperature before moving on to pie assembly. I like to make my filling the night before and cool in the refrigerator.
Apple Pie Assembly
- Preheat oven to 425 degrees Fahrenheit and place oven rack in the center of the oven.
- Remove pie crusts from the refrigerator and allow to come to room temperature for 15 minutes. Slowly unroll the pie crusts, being careful not to tear the dough. Line one 9 inch pie pan with bottom crust.
- Mix homemade and prepared pie filling together and fill pie pan. Dot the top with butter. Use the top pie crust to do a lattice crust. When finished, trim the edges and crimp the outside of the pie. See Heather's Helpful Hints below for help on how to create a lattice crust.
- Bake for 35 minutes, or until crust is golden. Remove pie from oven and allow to cool to room temperature before serving.
Notes and Tips
Nutrition
Did you make this recipe? First, let me say THANK YOU for giving it a try! Please leave us a rating above and leave any feedback in the comments section at the bottom of this post. I always love to hear your thoughts and ideas on what went well — and what didn’t — with a recipe! Be sure to check out some of our other recipes below!
lithuanianintheusa
The recipe sounds amazing!! :)) You have a lovely blog! :))
Heather @ Sweet Precision
Thank you! It's really a great quick recipe for apple pie!
debanitaghosh
Your apple pie looks so perfect & delicious! The pie indeed looks professional with the lattice pie crust. I just want to have a bite of it now. Thanks so much for sharing at Fiesta Friday!
Heather @ Sweet Precision
Thank you Debanita! So fun to see you hosting Fiesta Friday again! Thanks for making the community so fun and thriving :) Glad you liked the homemade apple pie recipe, now if only there was still some left to eat... ;)
cookingwithauntjuju.com
Congrats on 6 years - I am ahead of you by a year! Very pretty apple pie - probably my favorite all year round. Love the lattice work - I need to try that next time. Thanks so much for sharing with Fiesta Friday - I'm sure lots of bloggers will want to make your pie, or at least wish they had a piece :)
Heather @ Sweet Precision
We've both been around in the blogging world for a long time! I took a year off after my daughter was born, and it's nice to be back at it again. I find that you have to have a true love for all the parts of blogging to stick with it for the long haul. Thank you for co-hosting Fiesta Friday! It's only my second time participating!
Mom
All I can say is “delicious” since after the pictures were taken I had a knife and fork in that beautiful pie.
Heather @ Sweet Precision
Well, we certainly did enjoy eating it didn't we?! It's a tough job that someone had to do ;)
Jess
Congratulations on your blogversary, Heather! Also good for you on buying a pro-camera, I'm still trucking along with my humble point & shoot lol This pie looks delicious--apple pie is usually either a hit or miss concerning the filling, but yours looks spot on. Great job!
Heather @ Sweet Precision
Thanks Jess! I guess six years is a little deceiving since I took the last year off ;) I'm excited about the camera... there's definitely a steep learning curve! I definitely didn't get the top of the line, but it's nice to have an upgrade! I'm with you about apple pie filling... there's a thin line between under-done and mushy!